
You get used to noise and traffic when you start living in New York City, but not that dust and debris you take back home every day. Your air ducts are constantly circulating air in your home and sucking in that dust, construction debris, and allergens from the air.
So, if you’re sneezing more than usual or dust builds up on furniture even after cleaning, your ducts are calling for an air duct inspection as soon as possible. But not that misunderstood one; peeking into a vent with a flashlight.
In this guide, we walk you through why to schedule a professional inspection and step by step process that is followed for air duct inspection in NYC
Step 1: Initial Consultation and Scheduling
The process starts with a simple conversation. You are asked about your home, building type, and HVAC concerns. Apartments, brownstones, condos, and commercial spaces in NYC all have different layouts.
Some other information you would be asked to provide is about:
- Recent renovations
- Water damage
- Allergy concerns
- Unusual odors
- HVAC performance issues
This helps prepare the right tools and inspection approach.
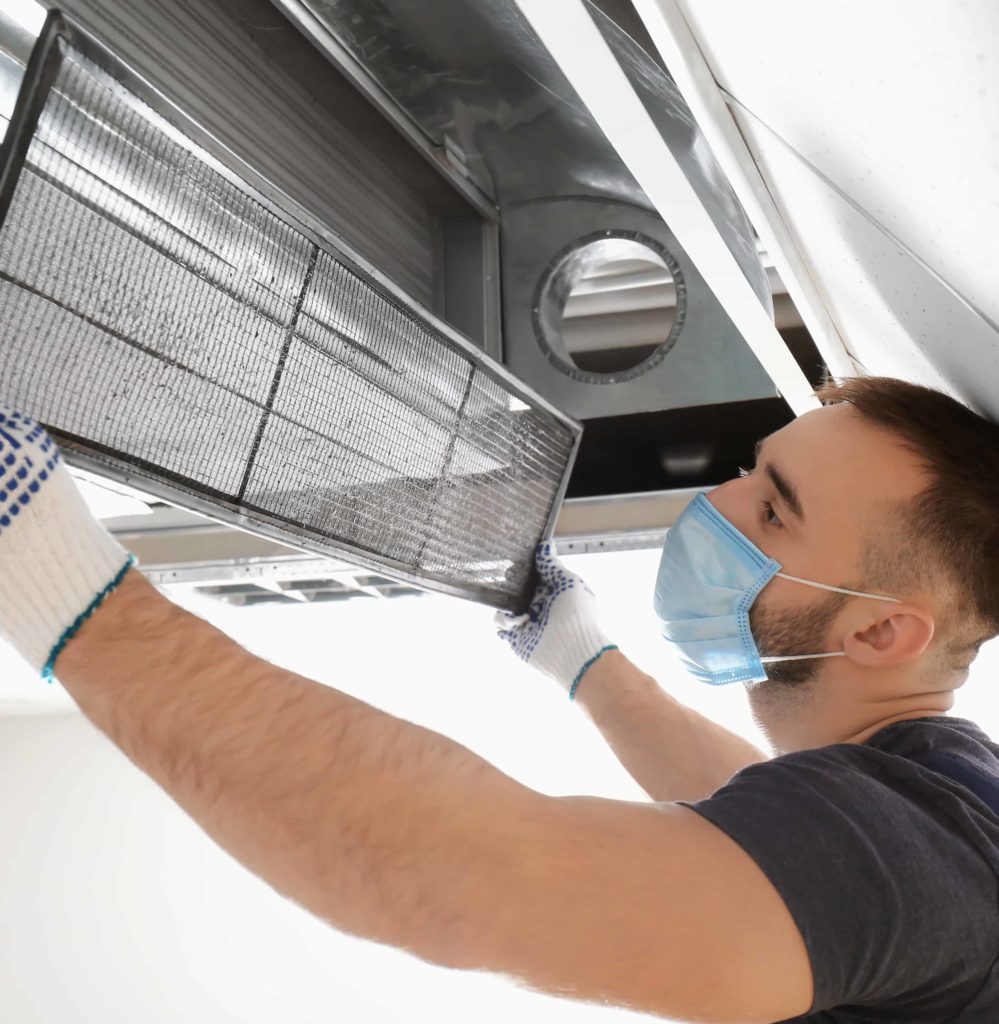
Step 2: Visual Inspection of Vents and Registers
Once technicians arrive, they begin with a visible check of all air vents and registers. They look for
- Dust buildup
- Mold-like spots
- Rust
- Loose vent covers
- Blocked airflow
This step helps identify surface issues before moving deeper into the duct system.
In many NYC buildings, vents collect heavy dust because of the city’s air and limited ventilation. A quick visual review often tells a lot about the condition of the entire system.
Step 3: Inspection of HVAC Unit
Next, the main HVAC components are inspected. This includes:
- Air handler
- Blower motor
- Evaporator coil
- Air filter
- Furnace or heat pump
According to the National Air Duct Cleaners Association, proper HVAC inspection should include both ductwork and system components. If the blower or coil is dirty, airflow reduces and energy usage increases.
Step 4: Use of Camera Inspection Tools
For a complete air duct inspection in NYC, specialized camera equipment is used. These small high-resolution cameras enter the ductwork and allow inspectors to see inside without cutting open walls or ceilings.
The camera inspection helps check for:
- Thick dust layers
- Mold growth
- Rodent activity
- Construction debris
- Damaged duct lining
This step provides clear proof of the duct condition.
Step 5: Checking for Mold and Moisture
Moisture inside ducts can lead to mold growth. Mold spreads through spores and may affect indoor air quality. The Centers for Disease Control and Prevention explains that mold exposure can cause allergy symptoms, coughing, and irritation.
If mold is suspected, areas around cooling coils and drain pans are examined first. In older NYC buildings, condensation issues sometimes appear due to poor insulation.
If mold is present, air duct inspectors explain the next steps and recommend proper cleaning and treatment.
Step 6: Airflow Testing
Good airflow keeps rooms comfortable. During inspection, airflow levels are tested in different rooms. Uneven airflow can signal:
- Blocked ducts
- Leaks
- Disconnected duct sections
- Dirty internal components
Airflow testing also helps determine whether cleaning will improve system performance.
Many customers who book air duct inspection in NYC report rooms that feel hotter or colder than others. This test helps pinpoint the reason.
Also Read: How Clean Ducts Balance Your Home’s Temperature
Step 7: Checking Duct Seals and Connections
Leaks in ductwork waste energy. According to the United States Department of Energy, leaky ducts can lower system efficiency and raise energy bills.
Technicians inspect:
- Joint connections
- Sealant condition
- Flexible duct sections
- Metal duct seams
In city apartments, ducts sometimes shift due to building settling or renovations. Catching these issues early helps prevent larger repairs later.
Step: 8 Inspection of Return Air Ducts
Return ducts pull air back into the HVAC system. If return ducts are clogged or dirty, the system struggles to circulate air properly.
Return air vents and internal pathways are carefully inspected. Blocked return ducts can create negative pressure and pull dust from walls and ceilings.
Many homeowners do not realize that return ducts are just as important as supply ducts.
Step 9: Reviewing Findings with the Homeowner
After completing the inspection, air duct inspectors review all findings with you. They explain:
- Current duct condition
- Level of dust buildup
- Presence of mold or moisture
- Airflow concerns
- Recommended cleaning or repair steps
You see camera footage and photos, so you understand the situation clearly.
Transparency builds trust, especially in NYC, where homeowners want clear pricing and straightforward service.
Step 10: Providing a Clear Service Plan
If cleaning is needed, inspectors outline the next steps. A proper air duct cleaning may include:
- High powered vacuum extraction
- Brush agitation tools
- Vent cover cleaning
- Filter replacement
- Optional sanitizing treatment
How Often Should You Schedule Air Duct Inspection in NYC
Most experts recommend inspection every three to five years. However, you may need it sooner if:
- You recently renovated
- You moved into an older building
- You have pets
- You notice allergy symptoms indoors
- You see visible dust from vents
City living adds extra exposure to pollutants. That is why regular air duct inspection in NYC makes sense for many households.
Schedule Air Duct Inspection in NYC with Flatrate Air Duct Cleaning
Flatrate Air Duct Cleaning follows a clear step-by-step process that covers every part of your duct system. From visual checks to camera inspection and airflow testing, inspectors focus on thorough evaluation and honest communication.
If you live in NYC and want cleaner air and better HVAC performance, scheduling a professional air duct inspection in NYC is a smart move. Regular inspection helps keep your system running smoothly and supports a healthier indoor environment for you and your family.